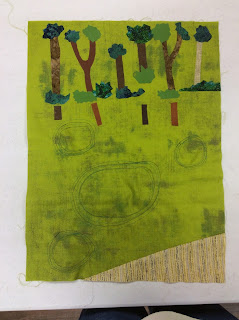
It has been several months since I have written on my blog! All summer as a matter of fact. I was having quite a bit of trouble trying to get pictures on but I now have a new laptop so hopefully all will go smoothly!
In my last blog I was writing about the May meeting of studioQ and our current challenge which is to take a masterpiece chosen by one of our members and to create a small art quilt inspired by said work of art. I decided that as well as showing what we have done, I would show my process of making an art quilt.
 |
| Inspiration Picture: The Yerres by Caillebotte |
First to select fabric to use:
 |
| Fabric choices |
Second-to decide what design format to use- for this one I decided to go with a series of squares to indicate the various areas of color.
 |
| beginning of cutting up of MANY squares |
Then begins the piecing together of the squares, after placing on my design board to determine the best placement.
 |
| Choosing placement |
Back and forth I go...from the design wall to the sewing machine...ironing each row before sewing together.
 |
Top part of picture-sewn; lower half-rows lined up ready to be sewed together..
|
The sewing portion of the quilt is completed; then pressing, backing put on, and quilting started. I chose to just straight line quilt, then facing and adding some hand stitching to create the ripples in the water.
 |
| My final work-if you click on the picture to enlarge, you may be able to see the hand stitching. |
All of our art quilts are about 15' X 20". Here are some that my fellow studioQ'er have made with the same painting as inspiration.


I've missed your blog! And I love to see your process!
ReplyDelete