Thursday, September 29, 2016

Another Process-A Wall Hanging

   
Group shot of Westside Unitarian Universalist's congregation
      The work I am going to show in this blog is one that I did for my church's water service.  We have a delightful new minister who just came to us about six weeks ago.  She is young and enthusiastic and I believe she will be a great asset to our church.  So for her second time in the pulpit, we had a Water Service...a  service whereby members of the congregation brought water from a favorite place, a special vacation, or even tap water to symbolically represent a memory. Then at a appointed times during the service the water was poured into  crystal bowls representing the direction from which it may have come..North, South, East, West as Rev. Shari read about the directions' meaning. Ultimately concluding the need for water and how all waters flow together, etc.
     In preparation for the service I volunteered to make a wall hanging to be displayed behind the pulpit.  So in my mind, what could represent the ultimate water?  The ocean and more specifically, the strength of the ocean as shown in waves. I have always admired Hokusai's  "The Wave" so I used it as an inspiration.
Hokusai's "The Wave"
   First the auditioning of the fabric...yes, that is what we fiber artists and quilters actually say when we are selecting just the right fabric to use!
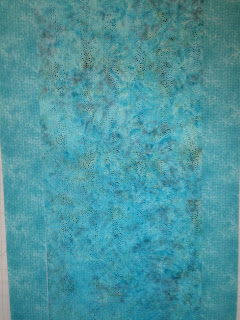
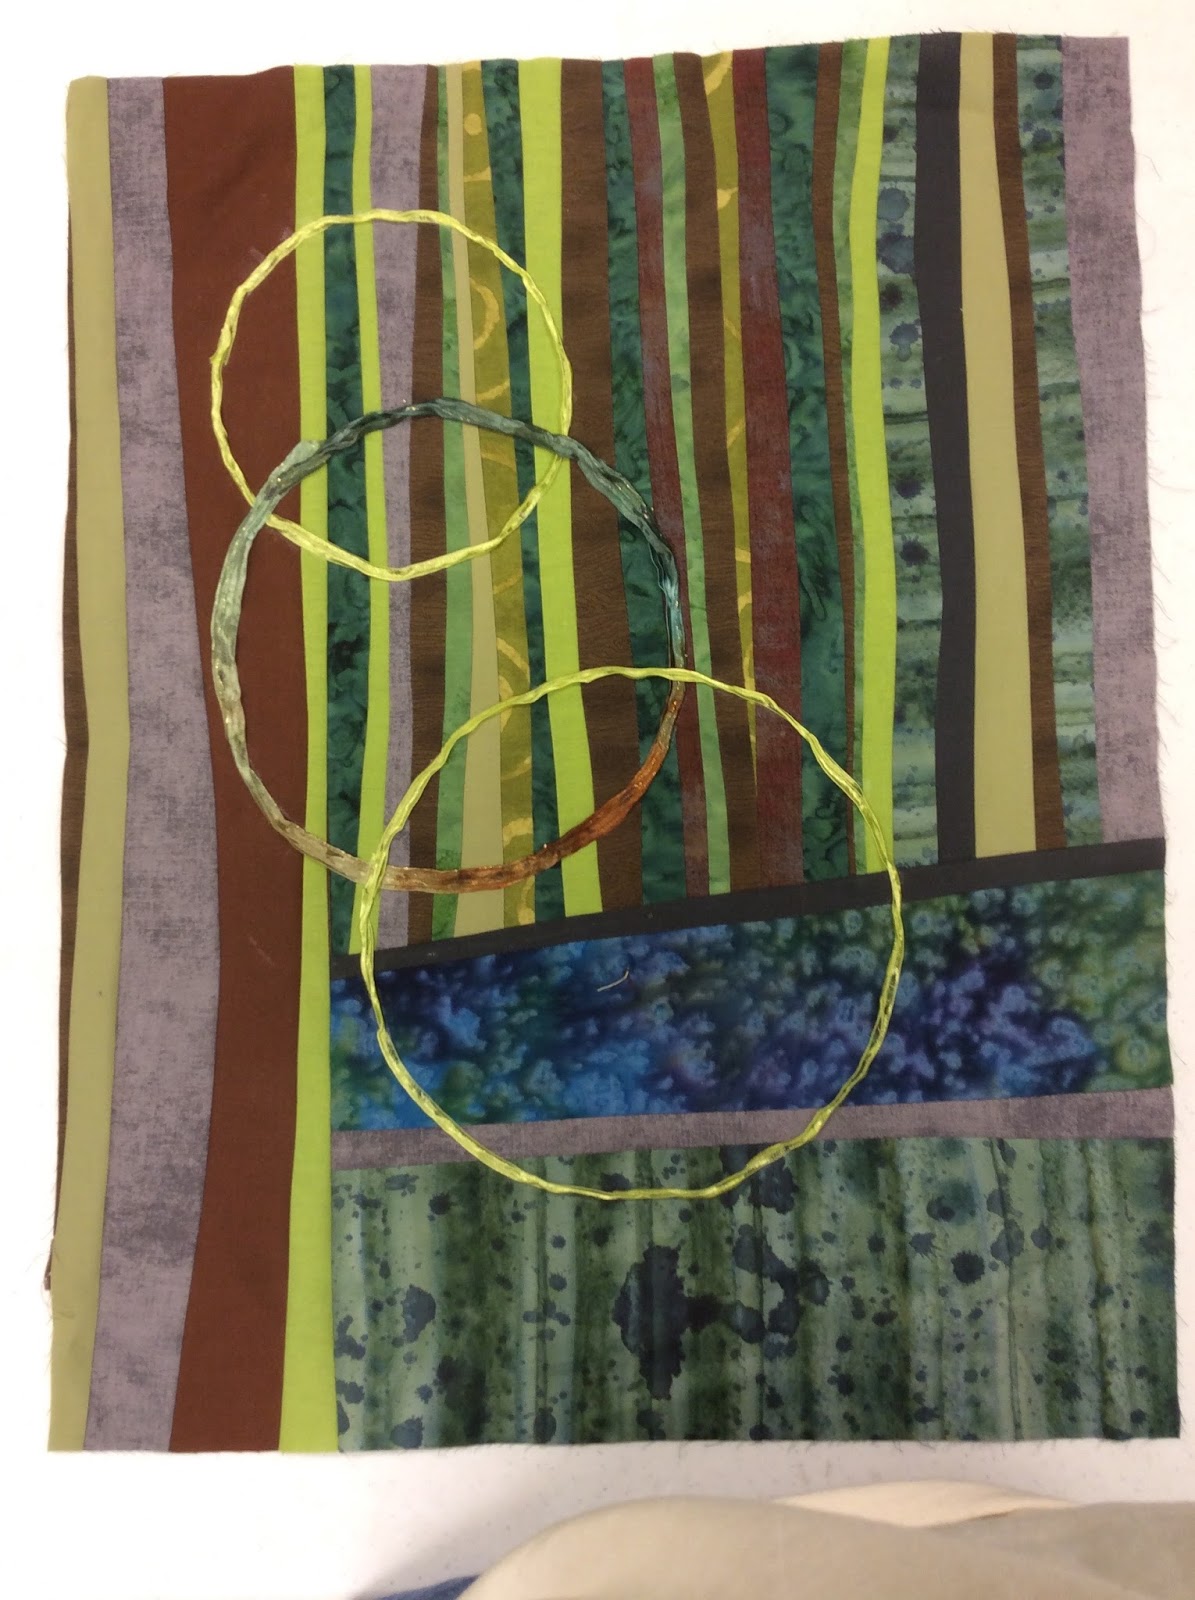
Background

Definition added
     Then I sketched out the shape of the waves on freezer paper.  Freezer paper has been adapted to the fiber world as a wonderful tool because the waxy side can be ironed on to fabric to give a nice foundation for cutting shapes. So I could place the paper on my background on my design wall.
Freezer paper shapes
After deciding the shapes, I chose the fabric for the waves themselves.  I had ironed Mistyfuse to the back of the fabric to fuse it in place to the background.  Mistyfuse is a very fine adhesive which can be adhered to fabric then ironed onto another piece.
The waves...on freezer paper...before adhering to background
The fabric is called shot cotton.  It is very light and has a shimmer to it which doesn't show up very well here.  It is made up of two different colors of thread which changes color slightly as light hits it.
Then I added some white caps
and because I really enjoy doing beading, I decided to bead the waves.  It has been  three or four years since I had done any beading, and I had forgotten how slow a process it is!  I burned the candle at both ends for several nights but did get it finished!
In cropping the picture to show the beading better, the picture got a little fuzzy.
The final wall hanging is about 60" x 36".  I would like to do some more beading along the top of the large wave on the left side and maybe a little on the lower wave.  

The final project!
I am glad I did the beading...it reminded me of how much I enjoy it and will be doing more in the near future.


Friday, September 23, 2016

Another Challenge with studioQ

     I am having some work done here at home, so I don't want to get into anything that I can't get away from if needed.  So a perfect opportunity to continue getting caught up with my series on studioQ challenges on my blog.
    This challenge I am going to show...process to finished project..was inspired by the painting "Seated Ruffian" by Matisse.  A few of us had gone to Philedelphia last spring to the Studio Art Quilters Association annual conference and while there we visited the Barnes.  Many of the pictures in the collection were by Matisse including this one.
Seated Ruffian by Matisse
   As usual the first thing I did was to select the fabric I wanted to use.  I just happened to have a one piece fabric which incorporated all the colors I needed.  I rarely buy fabric with a specific use in mind at time of purchase; I am more inclined to buy because I like it!  And then there it is when I need it!
My one piece of fabric with the chosen picture on it...what could be better!
     Now the decision to be made...what design do I want to use? Do I want to be realistic? Abstract? What parts to emphasize? So I start cutting up strips and laying them on my design wall.

First layout
Then more added
Now I'm ready to sew!
     I enjoy the design and sewing  phases best...now I have to figure out which parts should be sewn together first...then there is a certain amount of slashing and inserting various sections. 

Almost finished!
    The final steps are to square it up and to quilt and add the binding. I'm not real particular about whether my quilts are perfectly squared; in fact, I sometimes leave them a bit off angle to add to the design element.  The quilting is my least favorite part to do.  Since the color choices and design elements are more important to me, I usually do a very simple straight line quilting stitch by machine. I kind of like to do the binding too..not much to think about there...just what color to use and then I hand stitch my bindings which is a relaxing end to a project for me.
     
Finished
     And here is the finished project...approximately 15" x 20". When we first started this challenge, we decided we would all do a uniform size, but having our artists' minds, we all come up with "close to the chosen size"...and close is good enough...give or take a few inches! So here is the work of some of my fellow members of studioQ for the same challenge!


All together!


Wednesday, September 21, 2016

A New Beginning

     It has been several months since I have written on my blog!  All summer as a matter of fact.  I was having quite a bit of trouble trying to get pictures on but I now have a new laptop so hopefully all will go smoothly!
     In my last blog I was writing about the May meeting of studioQ and our current challenge which is to take a masterpiece chosen by one of our members and to create a small art quilt inspired by said work of art.  I decided that as well as showing what we have done, I would show my process of making an art quilt.
Inspiration Picture: The Yerres by Caillebotte
  First to select fabric to use:

Fabric choices
Second-to decide what design format to use- for this one I decided to go with a series of squares to indicate the various areas of color.

beginning of cutting up of MANY squares
Then begins the piecing together of the squares, after placing on my design board to determine the best placement.


Choosing placement
Back and forth I go...from the design wall to the sewing machine...ironing each row before sewing together.
Top part of picture-sewn; lower half-rows lined up ready to be sewed together..

The sewing portion of the quilt is completed; then pressing, backing put on, and quilting started. I chose to just straight line quilt, then facing and adding some hand stitching to create the ripples in the water.
My final work-if you click on the picture to enlarge, you may be able to see the hand stitching.
All of our art quilts are about 15' X 20". Here are some that my fellow studioQ'er have made with the same painting as inspiration.